The dedication, care, and time we put into each paint job sets us apart. In the world of painting, the process is what counts.

At Dr. Paint, we believe that the dedication, care, and time we put into each paint job sets us apart from the competition. That’s why we’ve fine-tuned our processes over the years.
Even though we don’t believe in a one-size-fits-all approach for any home or business, certain things do need to happen during each painting project. Find out more about our process for painting your home or business below.
From power washing to the final walkthrough — a look at the careful, systematic work that goes into every Dr. Paint exterior.
Here’s a step-by-step peek into our process for painting your home or business’s interior.
We review the painting plan, colors, and important details with you to ensure we understand exactly what needs to be completed.
We remove wall items, cover furniture, lay down Trimarco brown paper or drop cloths, cover ceiling fans, and remove vent, switch, and outlet covers.
Any holes, cracks, or scratches in your drywall are patched and prepared for a fresh, smooth coat of paint.
We paint ceilings first, then walls — cutting in with brushes, then rolling for a smooth, even coat. Finally, baseboards are painted with brushes.
Once dry, we replace wall items, reinstall switch plates and outlet covers, remove drop cloths and paper, and put all furniture back in place.
We walk through with you to look for any missed spots or areas that need to be addressed before we call it done.
Once you’re satisfied, we’ll give you a short form with a few questions about your experience with Dr. Paint.
That’s it — you can now enjoy your newly painted interior walls.
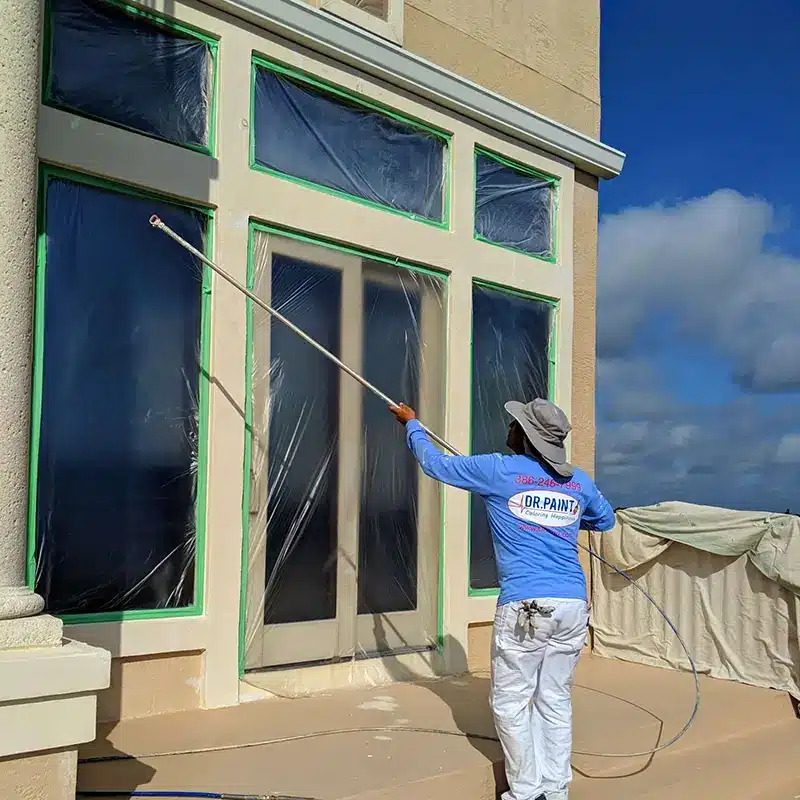
Don’t need interior painting? You might still benefit from an exterior repaint. Here’s how we approach exterior jobs.
We walk the property with you and confirm the colors and areas we are painting.
Before anything else, we give your walls, soffits, foundation, and everything else a high-quality power washing.
We seal cracks with masonry patch, mask windows and glass doors, caulk frames, cover lamps and cameras, protect plants from overspray, and trench the foundation.
We begin by spraying a chalk primer and sealer to prepare the surface for a durable finish.
Specialized spray paint goes on the soffits, fascia, and gutters — then the body of the building via spray and roll for full coverage.
We paint trim with rollers and brushes, then spray or roll doors — removing weatherstripping and hardware for complete coverage.
After several hours of drying, we check for touch-ups, restore everything to its place, and remove all paper, plastic, and tape.
A final walkthrough makes sure everything is to your liking — then a short survey, and your new exterior is the talk of the town!
Just like our other processes, deck and driveway work begins when we meet with you to follow your exact specifications for color and area. We surface-clean the entire deck or driveway with a power washer, then seal cracks with concrete base caulking.
Next, we use rollers to apply a specialized concrete stain, ensuring complete coverage. Once curing is complete (this can take a few days), we’ll ask you to inspect the area — and if anything needs attention, we’ll take care of it ASAP. Then you’re free to admire your newly coated deck or driveway to your heart’s content!
As experts in both residential and commercial painting, we know every job needs a personal touch. We never cut corners or make assumptions — if any step needs adjusting for your space, just let us know and we’ll change things up for you.
Get started by contacting our painting experts online or giving us a call. Request a free estimate anytime — we’d be happy to make your project come to life.